Easy Crochet Star Pattern: Free Step-by-Step Guide
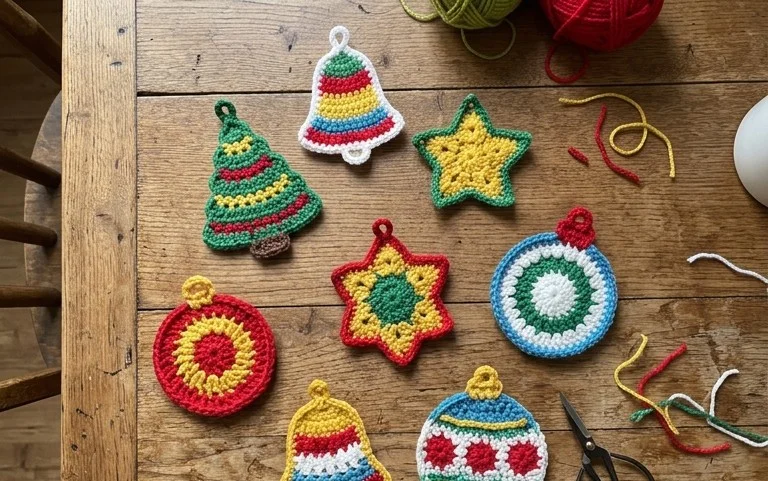
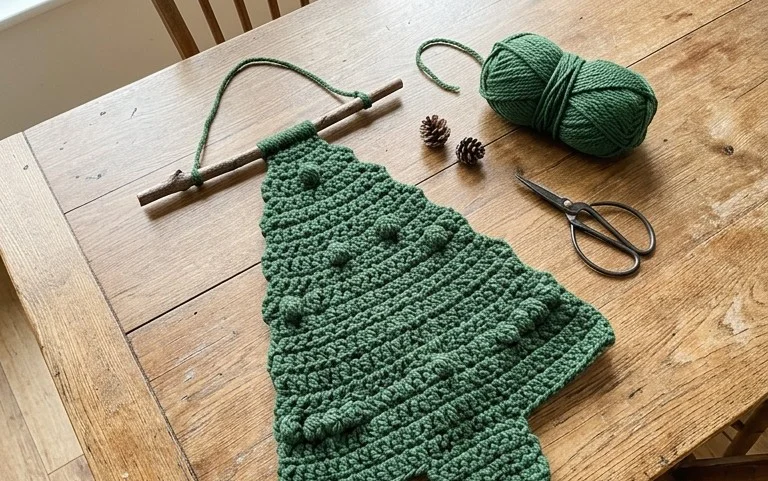
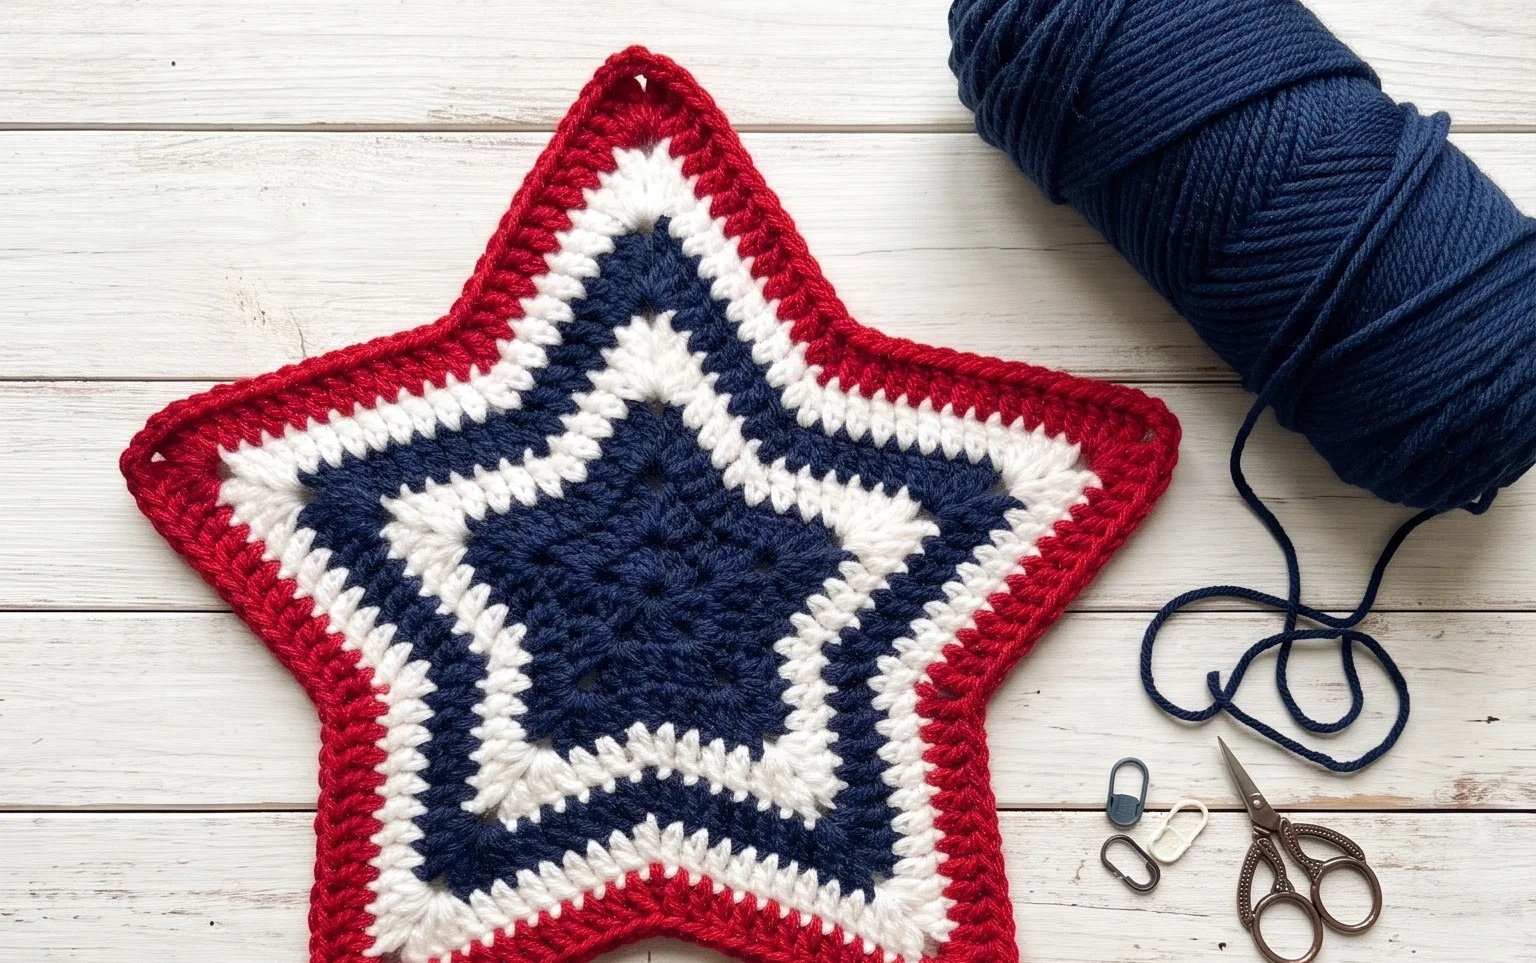
This crochet star motif has sharp, defined points and a firm texture that keeps its shape even when handled. You might use these as ornaments for a holiday tree, applique for a child’s sweater, or linked together to create a festive garland for your mantel. It is a quick project that relies on simple double crochet stitches and careful chain spaces to build those dramatic angles. Beginners appreciate how quickly the shape emerges, while experienced makers enjoy the rhythmic nature of the round-by-round increases. You will find that mastering this specific sequence of stitches unlocks many possibilities for your future creative projects.
Why You’ll Love This Pattern
The Classic Crochet Granny Square is the foundational building block for countless heritage-style blankets and modern garments. This project is ideal for developing consistent tension because the repeat is short and rhythmic. You can complete a single square in less than thirty minutes, making it a highly portable project for commutes or waiting rooms. It is a perfect solution for stash-busting, as each round can be worked in a different color to utilize leftover yarn scraps. The final result is a balanced, four-sided motif that joins seamlessly to others using a simple slip stitch or whip stitch.
I started with this square to learn how to change colors, and the instructions were so clear that I finished a twelve-square baby blanket in just one weekend.
— Sarah, beginner crocheter
Pattern Overview & Skill Level
- Skill Level: Beginner
- Approximate Time: 20–30 minutes per square
- Construction: Worked in joined rounds, starting from a center ring and expanding outward
- Finished Dimensions: Approximately 5 inches by 5 inches using medium weight yarn and a 5.0 mm hook
Materials & Supplies Needed
- Yarn: Worsted weight (#4) acrylic or wool blend, approximately 15 yards per square.
- Hook Size: 5.0 mm (US H-8) crochet hook.
- Notions: Tapestry needle for weaving in ends, scissors, and optional stitch markers.
- Yarn Substitutions: You may use DK weight yarn for a smaller, more delicate square, though you will need to increase the number of rounds to reach the same finished size. Using a cotton yarn will provide better stitch definition and a stiffer structure compared to acrylic or wool.
Stitch Guide & Abbreviations (US Terms)
- ch: chain
- sl st: slip stitch
- dc: double crochet
- dc cluster: 3 double crochets worked into the same space
- sp: space
- RS: right side
- st/sts: stitch/stitches
Step-by-Step Pattern Instructions
Center and First Rounds
- Foundation: Ch 4, join with sl st to the first chain to form a ring. Alternatively, use a magic ring.
- Rnd 1: Ch 3 (counts as first dc here and throughout), work 2 dc into the ring, ch 2, *3 dc into the ring, ch 2; repeat from * twice more. Join with a sl st to the top of the beginning ch 3. (12 sts, 4 ch-2 sps)
- Rnd 2: Sl st into the next 2 sts and into the first ch-2 sp. Ch 3, 2 dc, ch 2, 3 dc all in the same sp. *Ch 1, skip 3 sts, (3 dc, ch 2, 3 dc) in the next ch-2 sp; repeat from * twice more. Ch 1, join with sl st to the top of the beginning ch 3. (24 sts, 4 corners)
Expanding the Square
- Rnd 3: Sl st into the next 2 sts and into the next ch-2 corner sp. Ch 3, 2 dc, ch 2, 3 dc in the same corner sp. *Ch 1, 3 dc in the next ch-1 sp, ch 1, (3 dc, ch 2, 3 dc) in the next corner sp; repeat from * twice more. Ch 1, 3 dc in the final ch-1 sp, ch 1, join with sl st to the top of the beginning ch 3. (36 sts)
- Rnd 4: Sl st into the next 2 sts and into the corner sp. Ch 3, 2 dc, ch 2, 3 dc in the corner. *[Ch 1, 3 dc in the next ch-1 sp] twice, ch 1, (3 dc, ch 2, 3 dc) in the corner; repeat from * around, ending with ch 1, 3 dc in the final ch-1 sp, ch 1, join with sl st to the top of the beginning ch 3. (48 sts)
Finishing
Fasten off yarn, leaving a 6-inch tail. Use a tapestry needle to weave the tail through the back loops of the stitches on the reverse side of the square to secure it. If making multiple squares, ensure all tails are woven in the same direction to maintain a uniform look.
Care & Washing Instructions
- Hand wash in cool water using a mild detergent to prevent fiber stretching or felting.
- Lay the square flat on a clean towel and reshape it to its original dimensions while damp.
- Avoid wringing or twisting the fabric, as this can distort the square’s corners and overall geometry.
Pro Tips & Common Mistakes to Avoid
- Consistent Tension: If your square begins to ripple, your hook size may be too small or your tension too tight; conversely, if the square cups inward, your stitches are likely too loose.
- The Start of the Round: Always use a stitch marker in the top of the beginning chain-3 to make the final slip stitch easier to locate.
- Weaving Ends: Weave your ends under at least three stitches in different directions to ensure the square does not unravel after repeated use.
- Size Adjustment: You can continue adding rounds beyond Rnd 4 by repeating the pattern of working (3 dc, ch 2, 3 dc) in every corner and 3 dc in every side space; note that each additional round will require approximately 10–15% more yarn.
Frequently Asked Questions
Can I use a larger hook than recommended?
Using a larger hook will result in a larger, drapier square, but it will also leave larger gaps between the stitches. This is a stylistic choice often used for summer garments or airy blankets.
Is this pattern suitable for complete beginners?
Yes, this is an ideal entry-level project. It teaches the fundamental concepts of working in rounds, creating corners, and managing stitch counts without complex shaping.
How can I join these squares together?
There are several methods, including the flat braid join, the mattress stitch, or simply sewing them together using a tapestry needle and the yarn tail from each square.
Am I allowed to sell items made from this pattern?
As the designer, I permit the sale of finished items produced from this pattern on a small scale. Please credit the pattern origin in your online listings.
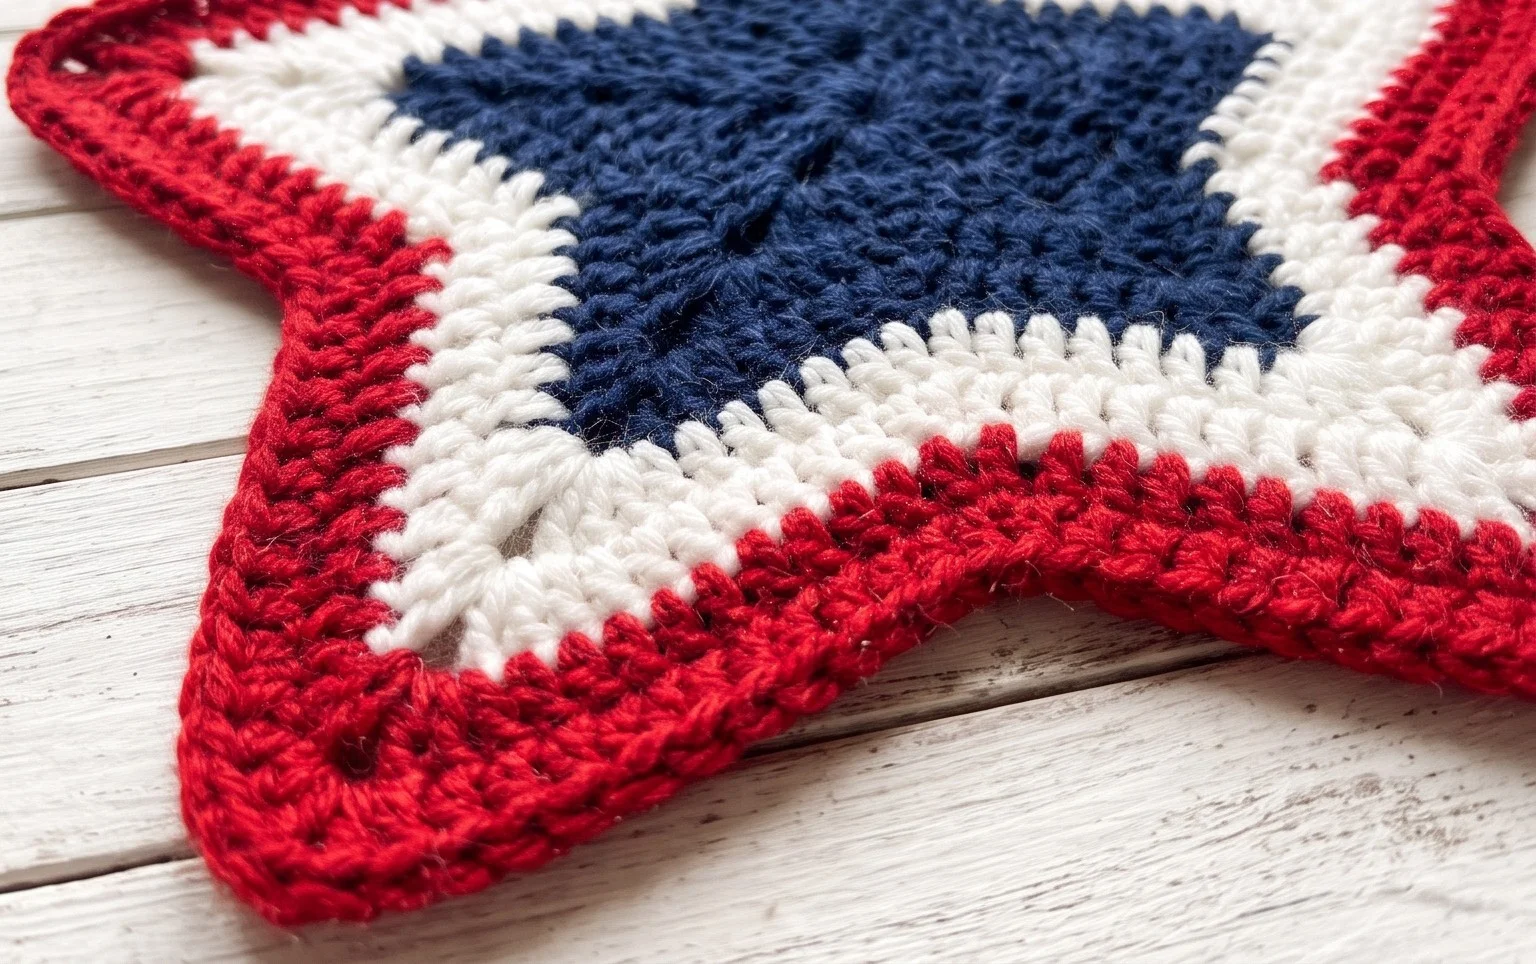
Seeing your finished star sitting on your desk or attached to a handmade gift is incredibly rewarding. To change the look, try using a metallic thread held alongside your cotton yarn for a holiday sparkle or work it in a chunky wool for a soft, oversized wall hanging. Post a picture of your project on social media so others can see your color choices in action. Come back to the blog to browse my other free patterns for more ways to use your yarn stash throughout the coming months.