Easy Crochet Witch Hat Pattern for Halloween Decor
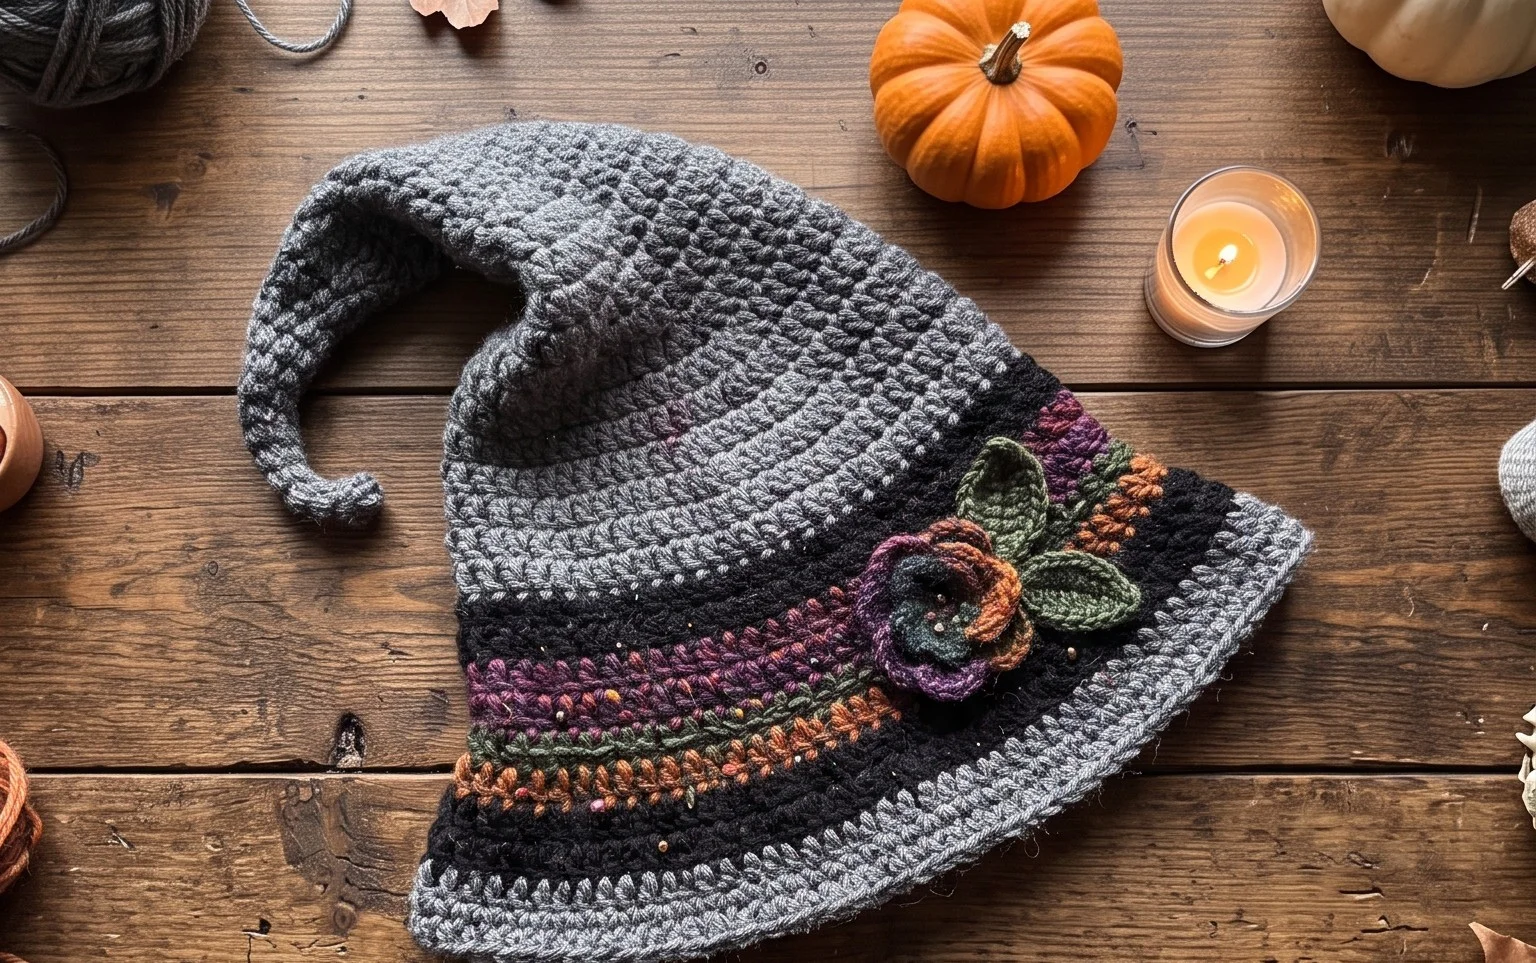
This pointy witch hat adds a charming, slightly eerie touch to any mantelpiece or coffee table during the autumn season. The thick, ribbed texture gives the piece a sturdy structure that stands up on its own, making it a great accent for your home decor. Beginners will appreciate how simple it is to build this shape by working in rows rather than circles. You will focus entirely on the single crochet stitch worked into the back loops to achieve that distinct, stretchy ridged surface. It is a rewarding project that transforms plain worsted yarn into a festive centerpiece in just a few hours.
Why You’ll Love This Pattern
This crochet ribbed beanie relies on a simple repeating pattern of single crochet stitches worked in the back loops only, which creates a stretchy, fabric-like texture similar to store-bought knit garments. Because the hat is constructed as a flat rectangle that is seamed at the side, it is an excellent project for beginners who have not yet mastered increasing or decreasing in the round. You can complete this project in a single evening, making it a reliable choice for last-minute gifts or stocking fillers. The ribbed structure provides a snug fit that retains its shape well over time, even with frequent daily wear.
I finished this hat in one sitting and the ribbed texture looks much more professional than I expected for such a simple construction method.
— Sarah, weekend crafter
Pattern Overview & Skill Level
- Skill Level: Beginner
- Approximate Time: 2–3 hours
- Construction: Worked flat as a rectangle and seamed to form a tube, with the top gathered to close.
- Finished Dimensions & Sizing: Adult size, approximately 9 inches tall by 18 inches circumference (unstretched).
Materials & Supplies Needed
- Yarn: Worsted weight (#4), wool or acrylic blend, approximately 200 yards.
- Hook Size: 5.5 mm (US I-9).
- Notions: Tapestry needle, stitch markers, and a pair of scissors.
- Yarn Substitutions: You may use cotton yarn, though it will be less elastic than wool or acrylic. If using a thinner sport weight yarn, increase your starting chain length to ensure the hat fits comfortably.
Stitch Guide & Abbreviations (US Terms)
- ch: chain
- st/sts: stitch/stitches
- sc: single crochet
- BLO: back loop only (insert hook under only the back strand of the V-shape stitch).
- sl st: slip stitch
Step-by-Step Pattern Instructions
Hat Body
The hat is worked in rows to create a ribbed rectangle. When working in BLO, you will notice a ridge forming on the side facing you, which creates the vertical ribbing effect.
- Row 1: Ch 46. Sc in the second ch from hook and in each ch across. Turn. (45 sts)
- Row 2: Ch 1 (does not count as st). Sc in BLO of each st across. Turn. (45 sts)
- Rows 3–60: Repeat Row 2 until your piece measures approximately 18 inches when laid flat.
- Finishing the body: Fasten off, leaving a long 12-inch tail for seaming.
Assembly and Closing
Fold your rectangle in half so the short ends meet. Align the stitches carefully.
- Using the long tail and your tapestry needle, whip stitch the two short ends together to create a tube.
- Once you reach the top edge, secure your yarn with a knot.
- Weave the yarn tail in and out through the stitches along the top edge of the tube.
- Pull the yarn tail tight to gather the top of the hat, closing the hole completely.
- Tie off the yarn on the inside of the hat and trim any excess.
Care & Washing Instructions
- Hand wash your hat in lukewarm water with a small amount of mild wool-safe detergent.
- Lay the piece flat on a clean towel to dry, avoiding direct heat or sunlight that might shrink the fibers.
- Reshape the hat while damp if it appears stretched, though the ribbed nature is designed to return to its original form.
Pro Tips & Common Mistakes to Avoid
Consistent tension is necessary for this project, as variations in how tightly you pull your yarn will make the edges of the rectangle uneven. Use a stitch marker on the first stitch of every row to ensure you do not accidentally skip the final stitch, which is a common error that leads to a slanted edge. When weaving in your ends, always run the needle through the same color yarn paths to keep the work looking tidy on the inside. If you decide to adjust the size, add or subtract chains in increments of two to maintain the ribbing pattern correctly.
Frequently Asked Questions
Can I use a larger hook for this pattern?
Using a larger hook will make the fabric looser and more draping. It will increase the overall size of the hat and use more yarn, so keep extra skeins on hand if you experiment with gauge.
Is this pattern suitable for children?
Yes, you can easily adjust the size for a child. Simply chain fewer stitches at the beginning to reduce the height and work fewer rows to reduce the circumference.
How do I know if my tension is correct?
If you find the edges of your rectangle are rippling, your tension is likely too loose. If the rectangle is pulling inward or curling, your tension is likely too tight. Aim for a consistent feel throughout the length of the project.
Am I allowed to sell hats made from this pattern?
You are welcome to sell finished items created from this design. Please credit the pattern origin whenever possible as a courtesy to the designer.

Your finished hat brings a touch of handmade personality to your holiday display, especially when topped with a contrasting ribbon or a felt flower. Experiment with deep purple or moss green yarn if you want to move away from classic black, or add a few spiderweb appliques for extra flair. I love seeing how your creative variations turn out, so please share a photo of your display online. Check out the rest of my site for more seasonal projects and patterns to fill your home with handmade items throughout the coming year.