Easy Beginner Crochet Ear Warmer: Free Pattern & Tutorial
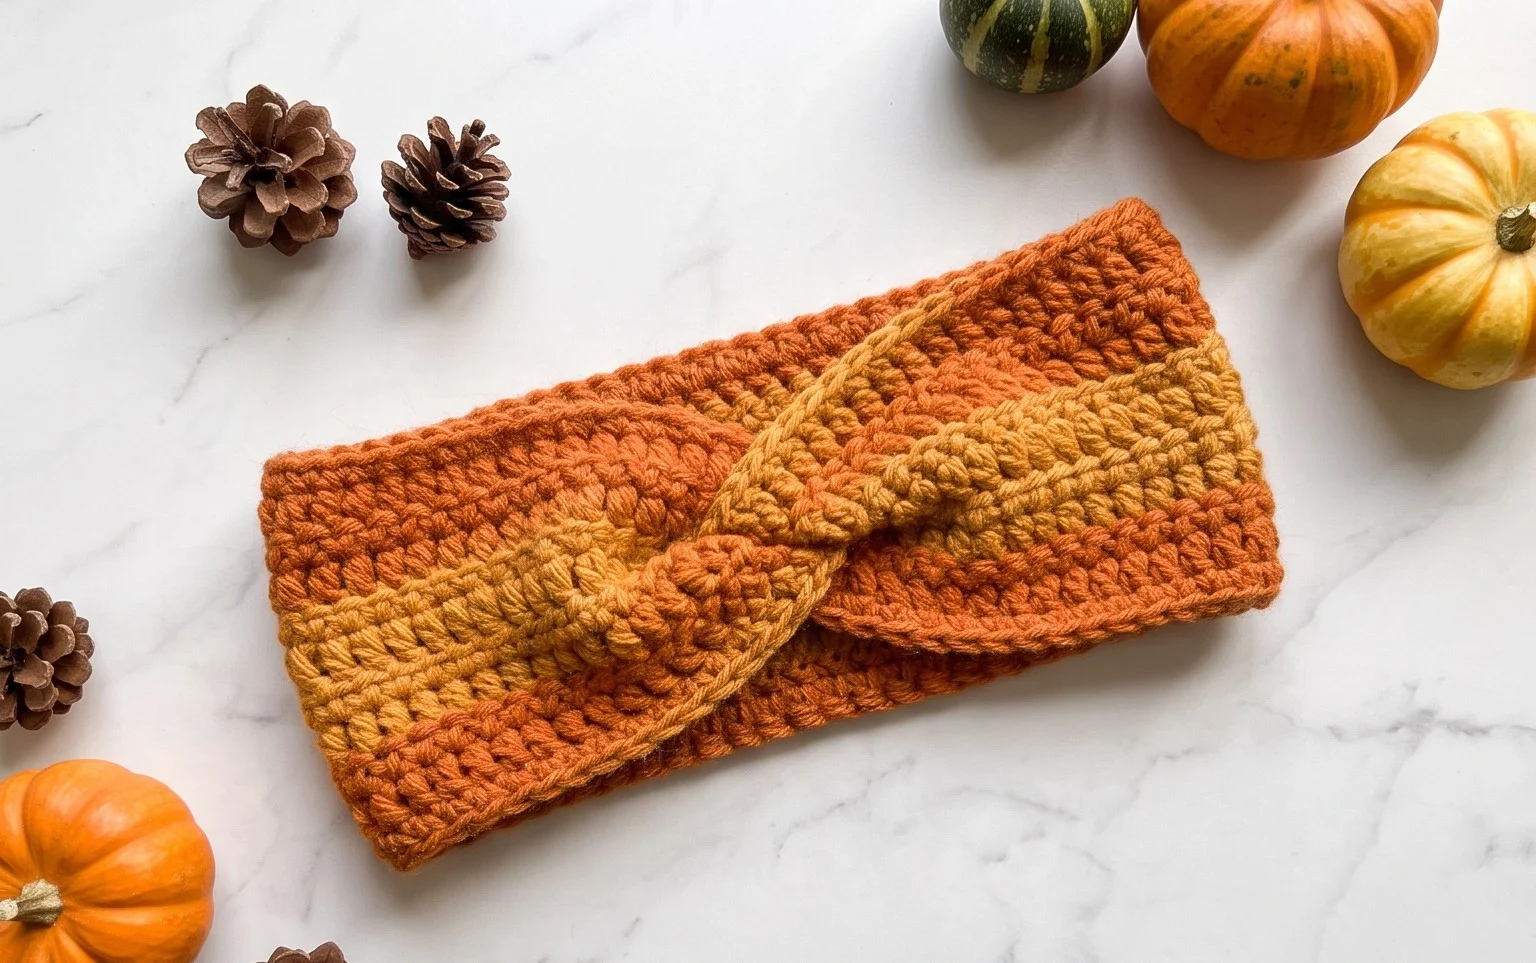
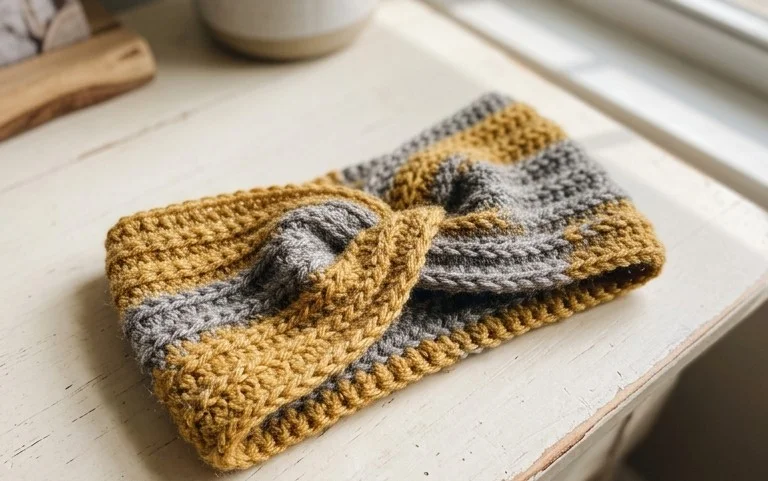
This squishy, textured accessory sits comfortably against your forehead, providing just enough warmth for those brisk morning walks or chilly days spent running errands. Its ribbed fabric mimics the look of store-bought knitwear while relying entirely on simple chains and half double crochet stitches worked into the back loop. You will find that this construction creates a dense, snug material that maintains its shape through repeated wear. Because the project works up as a flat rectangle before being seamed into a circle, it is a low-stress, meditative task. Whether you are a brand new crafter building your skills or an experienced maker needing a quick gift, this pattern delivers a result you will reach for all winter long.
Why You’ll Love This Pattern
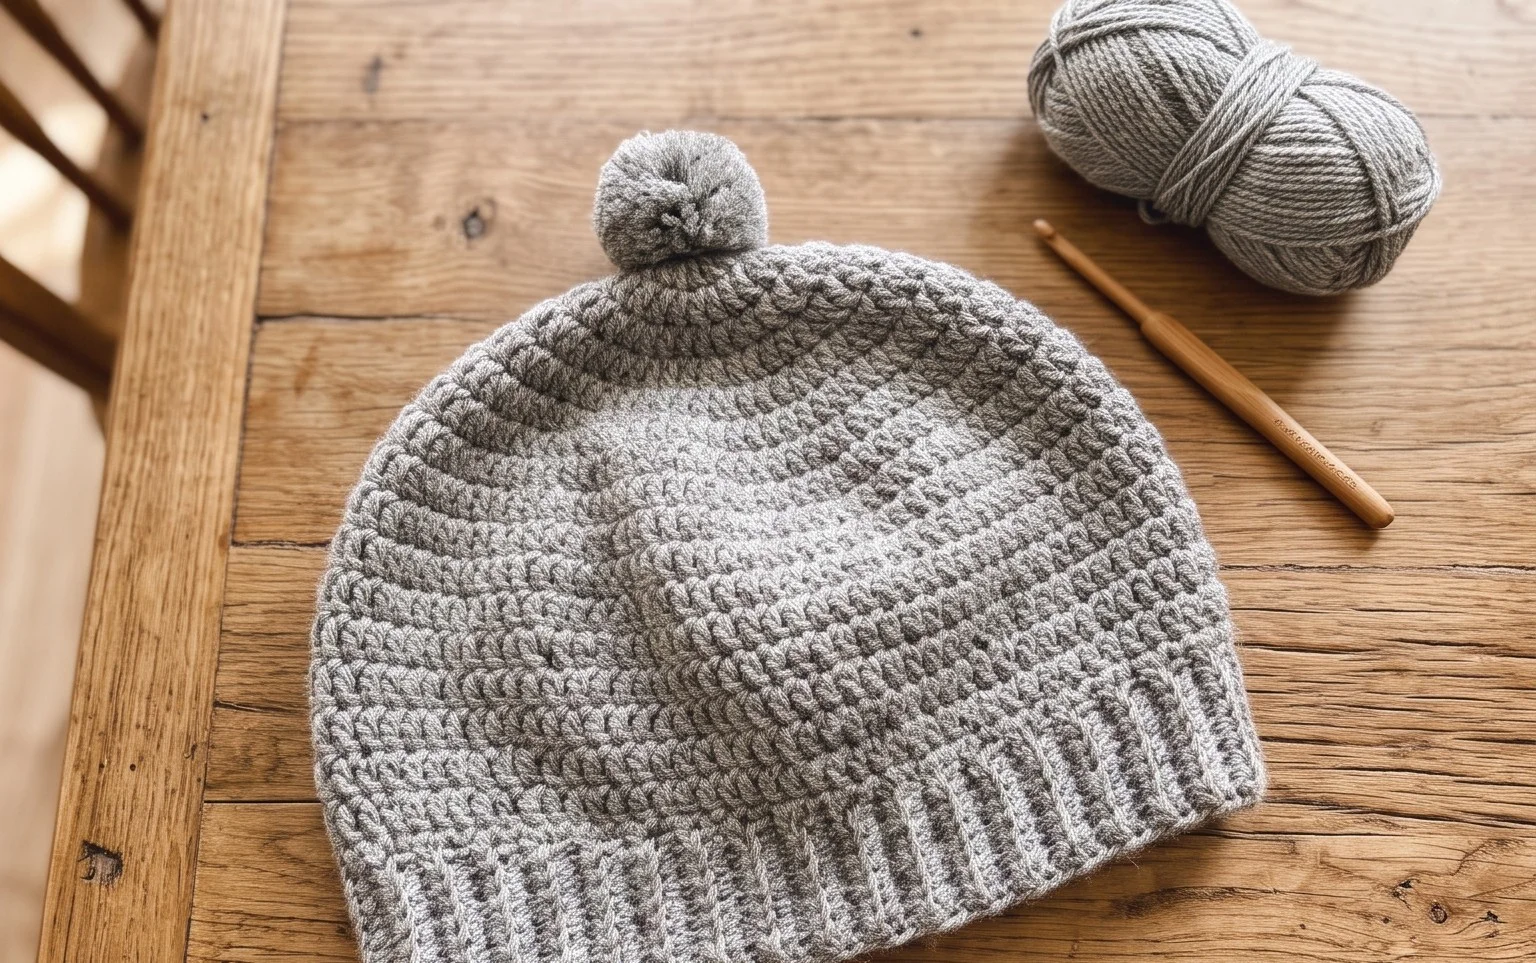
This crochet ribbed beanie pattern uses a simple construction method that mimics the look of knitwear without requiring needles. Because it is worked in turned rows, the finished fabric features a prominent vertical ribbing that provides excellent elasticity and a comfortable, snug fit for a variety of head sizes. The project is highly efficient, allowing most crocheters to complete a hat in a single afternoon or evening of work. Since it requires only basic stitches and straight-line construction, it is a low-stress project perfect for mindless stitching while listening to a podcast or watching a movie.
I managed to finish this hat in just a few hours using a soft merino blend, and the stretch is perfect for a fitted look that does not slide off throughout the day.
— Sarah, hobbyist maker
Pattern Overview & Skill Level
- Skill Level: Beginner
- Approximate Time: 3 to 4 hours
- Construction: Worked flat in a rectangle, then seamed at the side and gathered at the crown
- Finished Dimensions & Sizing: 18 inches circumference (unstretched) by 9 inches height, fitting most average adult head sizes
Materials & Supplies Needed
- Yarn: Worsted #4 weight, wool or acrylic blend, approximately 200 yards
- Hook Size: 5.5 mm / I-9
- Notions: Tapestry needle for seaming, stitch markers, and a tape measure
- Safe yarn substitutions: Cotton blends will result in a heavier, less stretchy hat, while alpaca blends will add significant warmth and softness compared to standard acrylic yarns.
Stitch Guide & Abbreviations (US Terms)
- ch: chain
- sc: single crochet
- st: stitch
- BLO: back loop only (insert hook under the back loop of the stitch instead of both loops)
- sl st: slip stitch
- turn: turn your work to begin the next row
Step-by-Step Pattern Instructions
Main Hat Panel
- Row 1: Ch 41. Sc in second ch from hook and each ch across. (40 sts)
- Row 2: Ch 1, turn. Working in BLO, sc in each st across. (40 sts)
- Rows 3–60: Repeat Row 2 until the piece measures approximately 18 inches when slightly stretched.
- Finishing: Fasten off, leaving a 12-inch tail of yarn for assembly.
Assembly
- Side Seam: Fold the rectangle in half so that the short ends meet. Using your tapestry needle and the long tail, sew the side edges together using a whip stitch or mattress stitch.
- Crown Closure: Secure the yarn at the top edge of the tube. Weave the yarn in and out through every other row along the top opening. Pull the yarn tight to gather the top of the hat closed.
- Securing: Insert the needle through the center hole several times to reinforce the crown. Tie off securely on the inside of the hat and trim any excess yarn.
Care & Washing Instructions
- Hand wash the finished hat in cool water using a gentle detergent specifically formulated for wool or delicates.
- Lay the item flat on a clean towel and roll it to remove excess moisture, then reshape it to its original dimensions on a flat drying rack.
- Avoid using high heat or tumble drying, as this can cause the yarn to felt or lose its elasticity.
Pro Tips & Common Mistakes to Avoid
Maintain consistent tension throughout the project by keeping your yarn feed steady; if your tension is too loose, the ribbing will lose its definition. Use a stitch marker at the start of every row to ensure you do not accidentally skip the final stitch, which is a common error that causes the edges to slant. When weaving in your ends, run the needle through the stitches on the inside of the seam to keep the work looking tidy and professional. If you wish to adjust the size, add or subtract foundation chains to change the height of the hat and add or subtract rows to change the head circumference; note that changing the size will require more or less yarn than the suggested yardage.
Frequently Asked Questions
Can I use a different weight of yarn for this pattern?
You can use a DK or bulky weight yarn, but you will need to adjust your starting chain count to match your desired height and work more or fewer rows to achieve the correct circumference for the head size.
Is this pattern suitable for someone who has never crocheted before?
Yes, this project is ideal for beginners because it relies entirely on the single crochet stitch and the back loop only technique, which are foundational skills that provide a clean, professional finish.
How do I adjust the hat to be slouchy instead of fitted?
To make a slouchy version, simply add 20 to 30 extra chains to your foundation row at the beginning, which will increase the overall length and allow the top to fold over.
Can I sell items made from this pattern?
You are welcome to sell finished products created with this pattern, though it is standard etiquette to credit the designer when listing your items for sale online or in person.
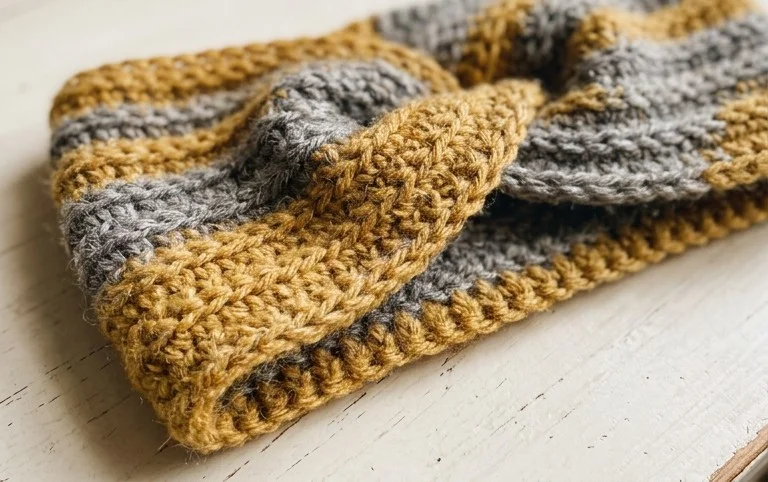
Your finished accessory brings a cozy, handmade touch to your cold-weather wardrobe. Try working the pattern in a variegated yarn to add visual interest or adjust the chain length to create a wider band that covers more of your ears. Please share a photo of your work on your favorite social media site to show off your custom color choice. You can find many more accessible, free project guides across my blog for your next afternoon session. Every stitch contributes to your progress as a maker, so enjoy the comfort of your new warm creation.