Easy Granny Brim Sun Hat Crochet Free Pattern
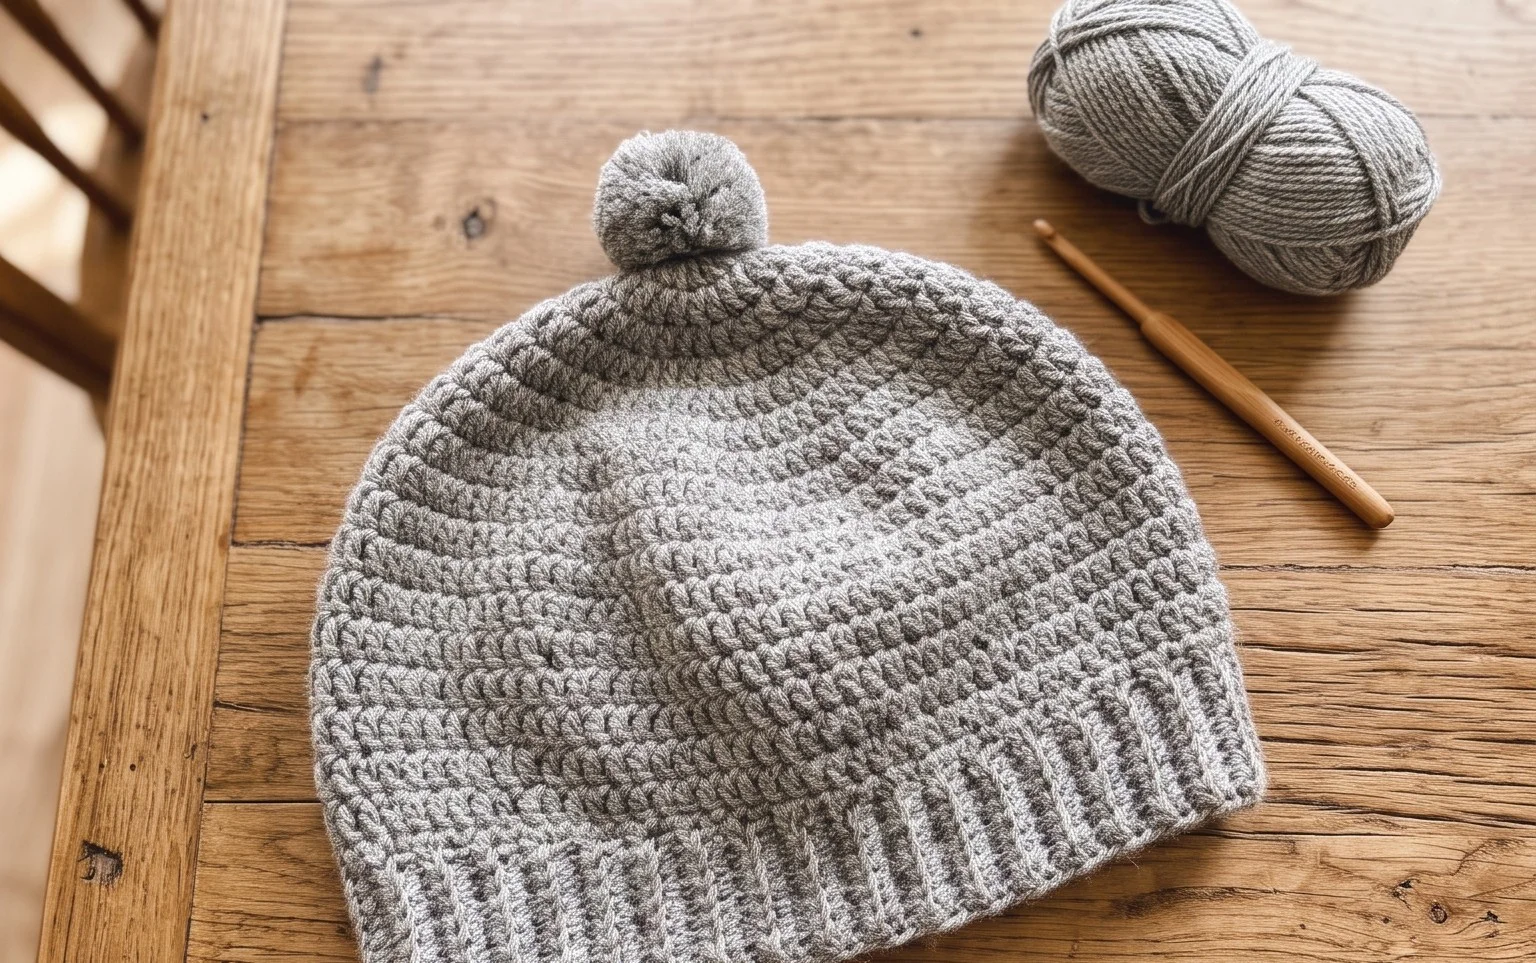
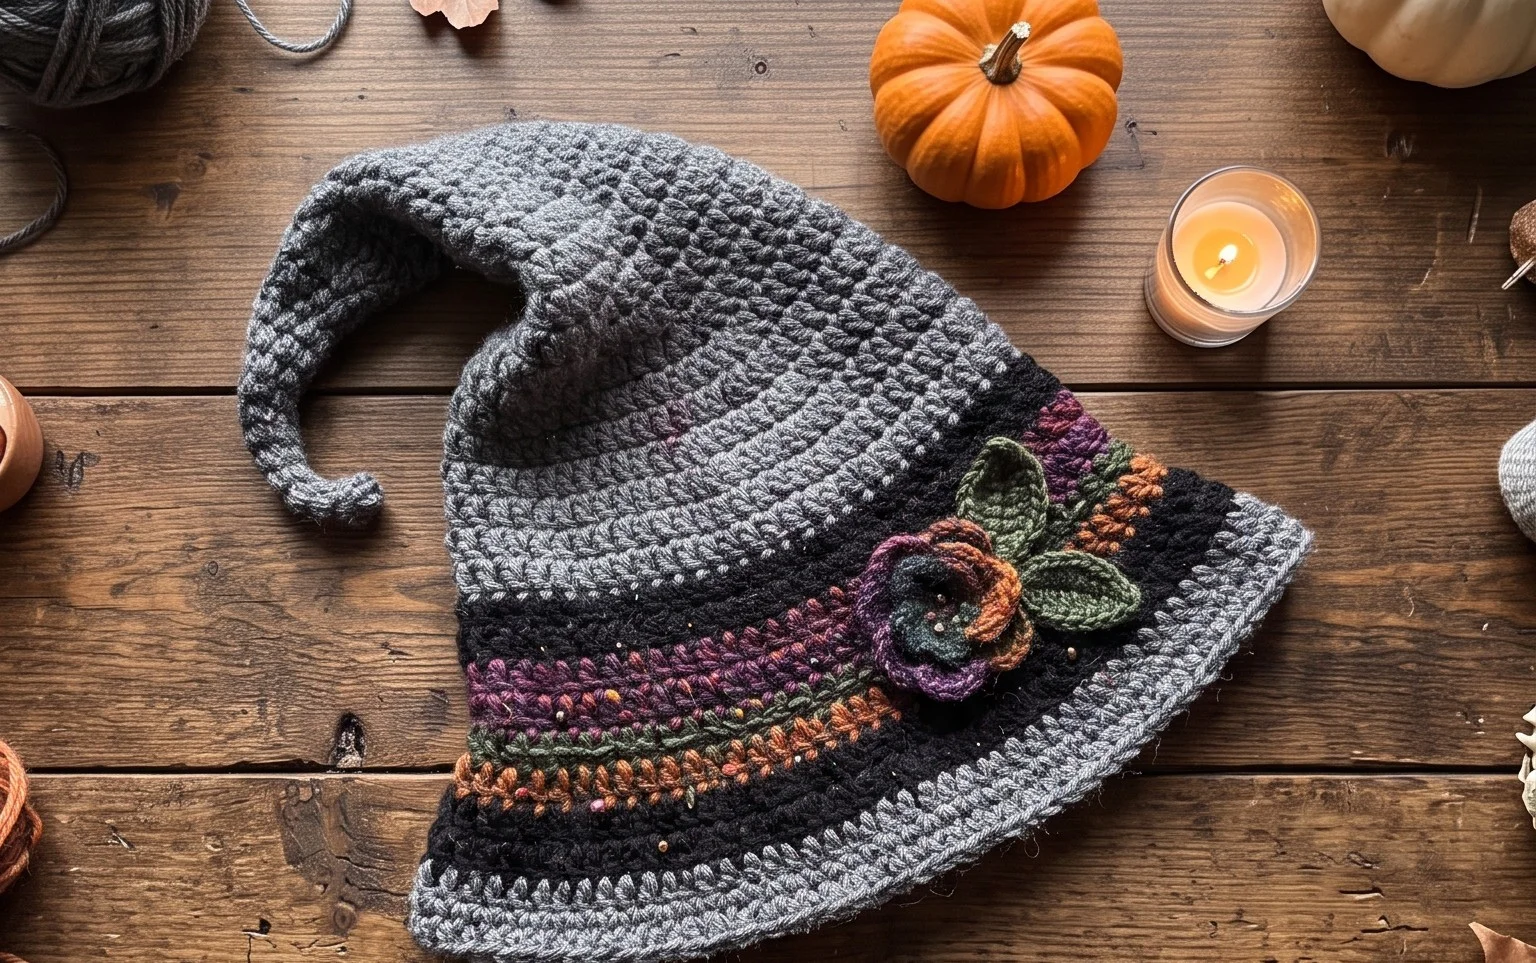
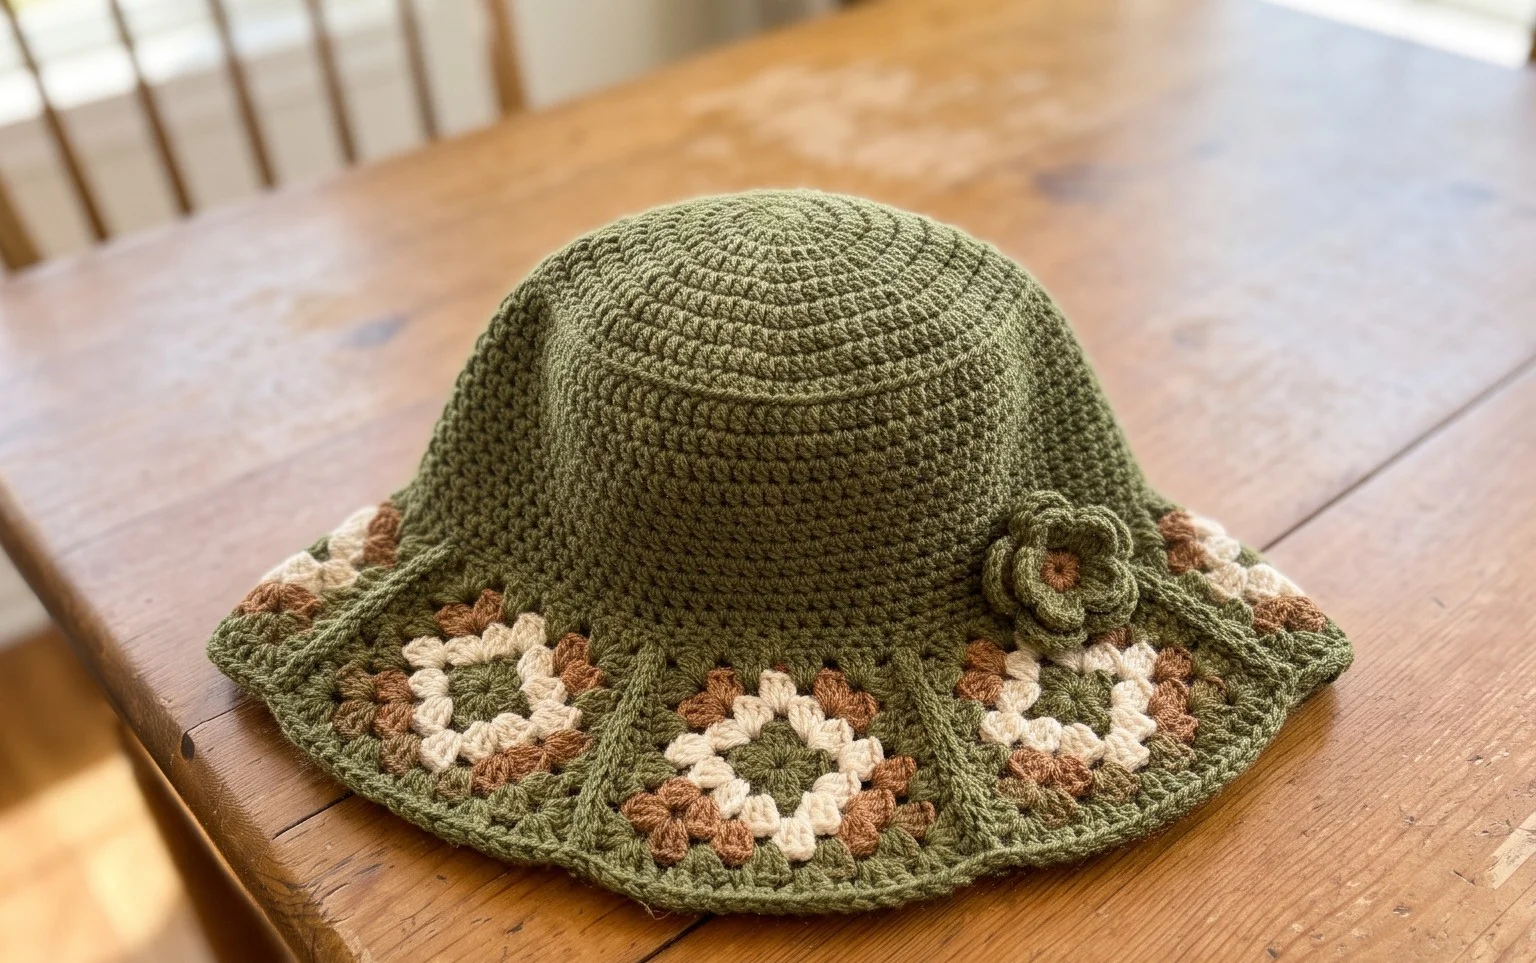
A wide brim offers welcome shade on bright afternoons, and this hat brings that classic, textured look to your summer wardrobe. The design uses traditional granny clusters to form a structured, airy fabric that holds its shape without feeling heavy or stiff. Beginners appreciate how the circular construction flows from the crown down to the edge, making it a meditative process that stays interesting from start to finish. You will learn to manage increasing rounds to build the brim size exactly how you like it. Whether you need a gift or a quick personal project, this hat works up in just a few sittings.
Why You’ll Love This Pattern
The Classic Crochet Granny Square is the quintessential building block of crochet, providing a rhythmic, meditative experience that turns yarn scraps into functional art. This pattern focuses on the traditional three-double-crochet cluster technique, which creates a dense yet flexible fabric that resists sagging. Because the project is constructed in rounds working from the center outward, you can easily stop at any size to create everything from coasters to full-sized blankets. The repeating stitches make it ideal for practicing tension control, and it is a portable project that fits easily into a small project bag for stitching on the go.
I finally mastered the center joining technique after trying this pattern, and my first blanket is already coming together perfectly.
— Sarah, beginner crocheter
Pattern Overview & Skill Level
- Skill Level: Beginner
- Approximate Time: 30 to 45 minutes per square
- Construction: Worked in joined rounds, starting from the center and expanding outward with corner increases
- Finished Dimensions: Approximately 6 inches by 6 inches when using worsted weight yarn
Materials & Supplies Needed
- Yarn: Worsted weight (#4), 100% cotton or acrylic blend, approximately 20 yards per square.
- Hook Size: 5.0 mm (H-8).
- Notions: Tapestry needle for weaving ends, sharp scissors.
- Safe Yarn Substitutions: You can use DK weight yarn with a 4.0 mm hook for a smaller, more delicate square, or bulky weight yarn with a 6.0 mm hook for a larger, quicker square. Note that changing weight will alter the finished size and required yardage.
Stitch Guide & Abbreviations (US Terms)
- ch: Chain
- st: Stitch
- sl st: Slip stitch
- dc: Double crochet
- dc-cluster: 3 dc stitches worked into the same space
- sp: Space
- MR: Magic ring (or alternatively ch 4 and sl st to the first ch to form a ring)
Step-by-Step Pattern Instructions
Work each round with an even tension to ensure the square lies flat. Use a stitch marker to keep track of the starting chain if you are prone to losing your place.
Granny Square Body
- Rnd 1: Start with MR. Ch 3 (counts as first dc), work 2 dc into ring, ch 2, 3 dc, ch 2 3 times. Join with sl st to the top of the beginning ch-3. (12 dc, 4 ch-2 spaces)
- Rnd 2: Sl st into the next 2 sts and into the first ch-2 space. Ch 3, 2 dc, ch 2, 3 dc in the same corner space. Ch 1, (3 dc, ch 2, 3 dc) in the next corner space. Repeat from * to * 2 more times, ch 1. Join with sl st to the top of the beginning ch-3. (24 dc, 4 ch-1 spaces, 4 ch-2 spaces)
- Rnd 3: Sl st into the next 2 sts and into the corner space. Ch 3, 2 dc, ch 2, 3 dc in same corner space. Ch 1, 3 dc in the next ch-1 space, ch 1, (3 dc, ch 2, 3 dc) in the next corner space. Repeat from * to * 2 more times, ch 1, 3 dc in the last ch-1 space, ch 1. Join with sl st to the top of the beginning ch-3. (36 dc)
- Rnd 4: Continue in established pattern: work (3 dc, ch 2, 3 dc) in each corner and 3 dc in each side ch-1 space, separated by ch 1. (48 dc)
Finishing
Once your square reaches the desired size, fasten off leaving a 6-inch tail. Use the tapestry needle to weave the yarn tail through the back loops of the finished round to secure it. Trim any excess yarn close to the fabric, being careful not to cut the stitches.
Care & Washing Instructions
- Hand wash finished items in cool water with a gentle detergent to maintain fiber integrity.
- Lay the square flat on a clean towel to air dry, reshaping it into a perfect square while damp.
- Avoid wringing or twisting the fabric, as this can distort the cluster stitches and weaken the yarn.
Pro Tips & Common Mistakes to Avoid
Consistency in your hand tension is the most important factor for a square that does not ripple or curl. If your square looks like a bowl, your tension is likely too tight; if it looks ruffled, your tension is too loose. Always place a stitch marker in the first stitch of every round so you can identify the join point easily, which prevents the center hole from shifting. To weave in ends invisibly, follow the path of the yarn rather than cutting across the back of the clusters. You can easily adjust the size by adding or subtracting rounds, but remember that every additional round will require significantly more yarn than the previous one.
Frequently Asked Questions
Can I use different colors for each round?
Yes, this is a popular way to use scrap yarn. To change colors, fasten off at the end of a round and join the new color in any corner space with a standing stitch or a simple sl st.
Why are my corners curling?
Curling usually occurs if your stitches are too tight. Try going up one half-size in hook, or consciously loosen your grip on the yarn when working the ch-2 corner spaces.
How do I join these squares together?
You can join squares using a whip stitch with a tapestry needle through the back loops, or by using a slip stitch join while holding two squares together with right sides facing each other.
Can I sell items made from this pattern?
You are welcome to sell finished items created from this pattern. Please credit the original design and use your own photographs when listing your items online.
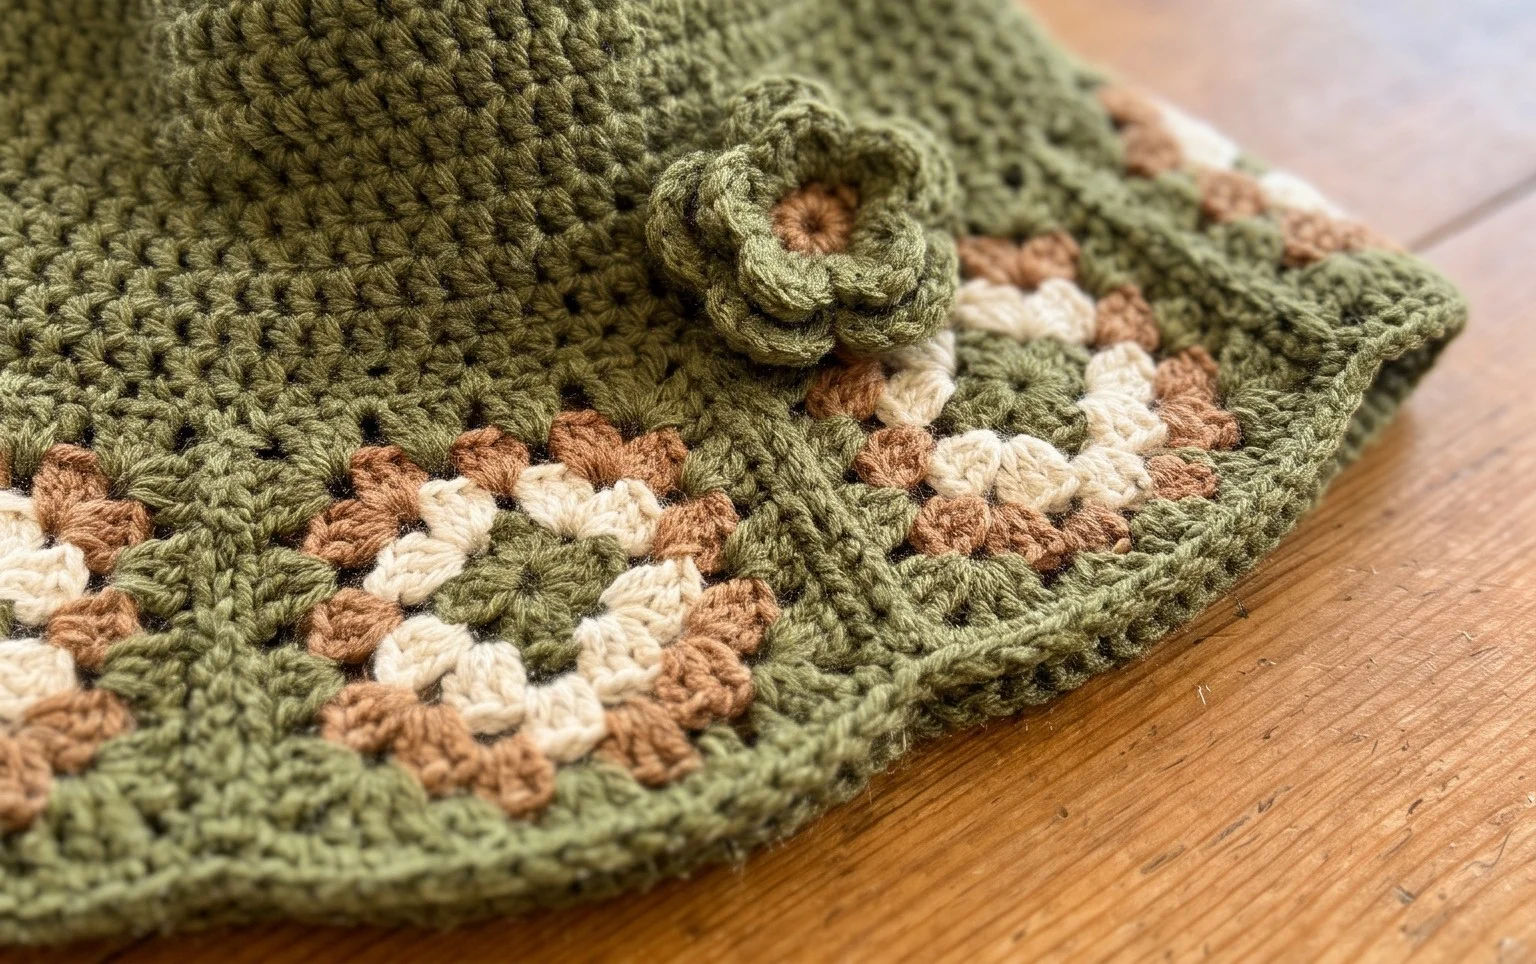
Your finished hat provides reliable sun protection and adds a handmade touch to any outfit. Try working it in a neutral cotton yarn for a sophisticated look or use a variegated thread to highlight the unique stitch clusters. If you enjoy the rhythm of these rounds, share a photo of your creation on social media to inspire others in the crafting community. You can find more free patterns and seasonal ideas on the main blog page, so keep your hook handy and enjoy your next project.