Easy Crochet Pine Cone Ornament: Step-by-Step Guide
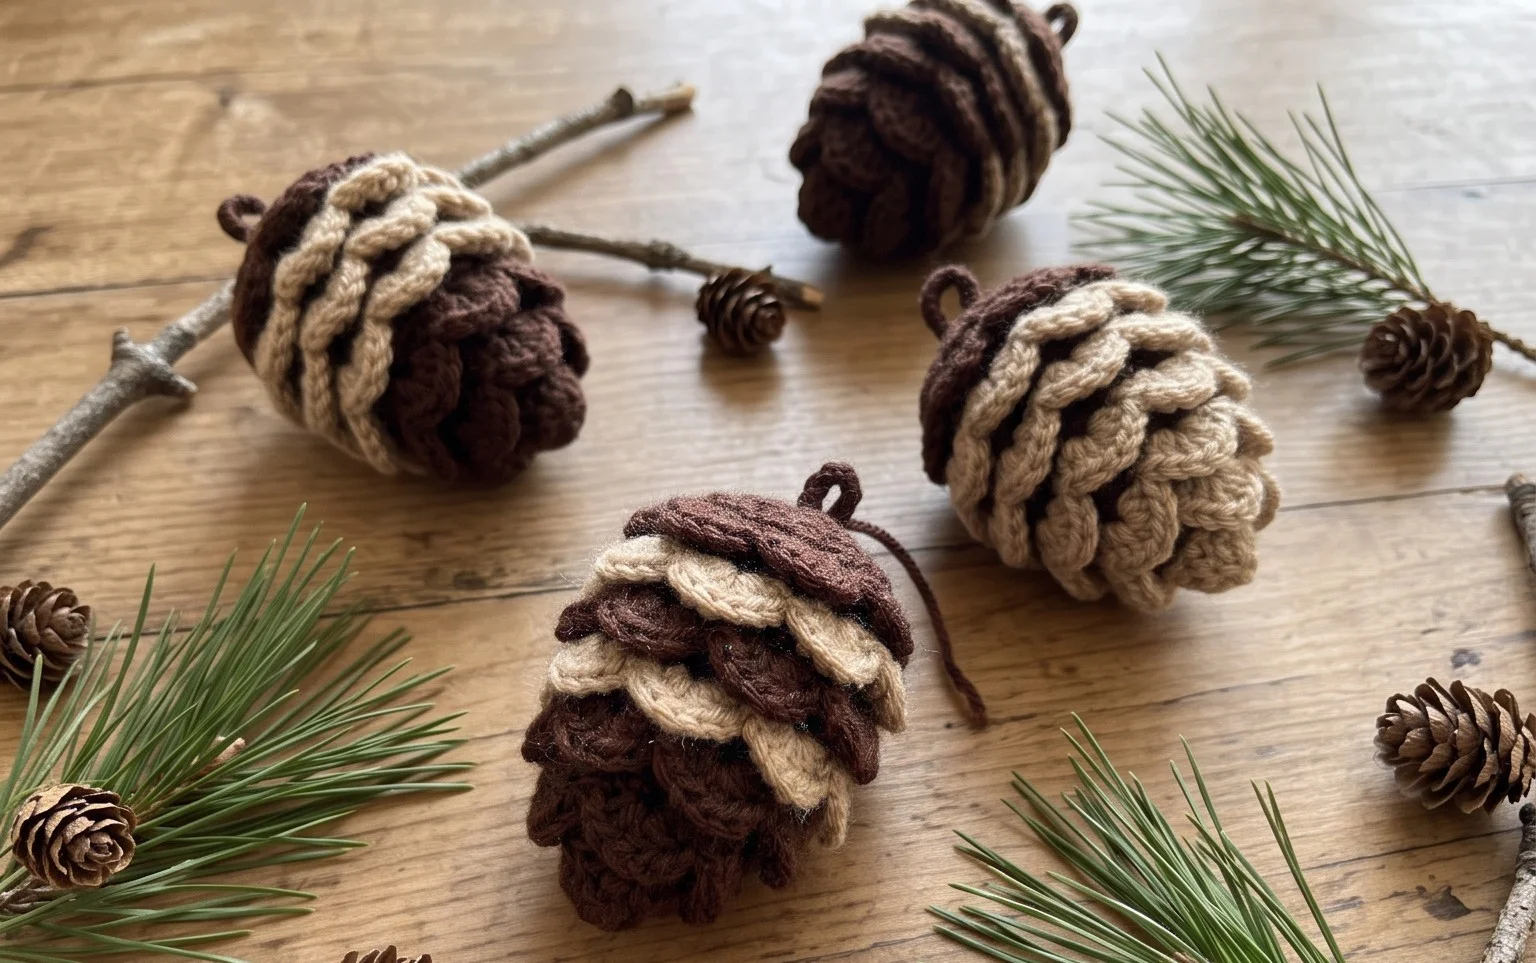
This textured ornament brings a natural, rustic feel to your holiday tree using simple single crochet stitches worked in a continuous spiral. You will find that the dense, bumpy surface mimics real pine cone scales while remaining lightweight enough to hang on delicate branches. Beginners appreciate how this project builds confidence through repetition, creating a uniform look without requiring advanced shaping or complex color changes. By following these clear instructions, you learn how to manage tension for a firm structure that keeps your stuffing hidden inside. It is a relaxing way to spend your afternoon while building your holiday decor collection.
Why This Project Is Worth Making
This beginner-friendly project is a quick, rewarding make that helps you master the magic ring and continuous spiral rounds. It is an ideal way to use up small amounts of leftover cotton yarn from larger blankets or garments. Because the pattern relies on simple single crochet stitches, you can complete the entire piece in a single evening while watching a movie. The finished item is sturdy enough to hold its shape as a desk ornament or a small gift for a friend.
I managed to finish this project in under two hours. The instructions are incredibly clear for someone who struggles with amigurumi shaping, and it looks exactly like the photos.
— Sarah, hobbyist crocheter
Pattern Overview & Skill Level
- Skill Level: Beginner
- Approximate Time: 1.5 to 2 hours
- Construction: Amigurumi-style, worked in continuous rounds using a magic ring and fiberfill stuffing
- Finished Dimensions & Sizing: 3 inches tall by 2.5 inches wide
Materials & Supplies Needed
- Yarn: Worsted weight (#4), 100% cotton yarn, approximately 25 yards in main color and 5 yards in contrast color.
- Hook Size: 3.5 mm (US E-4) to create a tight fabric that keeps the stuffing from showing through.
- Notions: Tapestry needle, stitch markers, polyester fiberfill stuffing, and 6mm black plastic safety eyes.
- Safe yarn substitutions: You can use acrylic yarn, but the finished project will be slightly larger and softer; always ensure the hook size is small enough to prevent stuffing gaps.
Stitch Guide & Abbreviations (US Terms)
- MR: Magic Ring
- ch: chain
- sc: single crochet
- inc: 2 sc in the same stitch (increase)
- dec: sc2tog (invisible decrease, working in the front loops only)
- sl st: slip stitch
- st/sts: stitch/stitches
Step-by-Step Pattern Instructions
Main Body
- Rnd 1: Start 6 sc in a MR (6 sts).
- Rnd 2: 2 sc in each st around (12 sts).
- Rnd 3: [1 sc, inc] 6 times (18 sts).
- Rnd 4: [2 sc, inc] 6 times (24 sts).
- Rnd 5: [3 sc, inc] 6 times (30 sts).
- Rnds 6–12: Sc in each st around (30 sts).
- Rnd 13: [3 sc, dec] 6 times (24 sts).
- Rnd 14: [2 sc, dec] 6 times (18 sts). Attach safety eyes between rows 9 and 10 with 4 stitches of space between them.
- Rnd 15: [1 sc, dec] 6 times (12 sts). Fill the body firmly with fiberfill stuffing.
- Rnd 16: [dec] 6 times (6 sts).
Finishing
Cut the yarn leaving a 6-inch tail. Use the tapestry needle to weave the tail through the front loops of the final 6 stitches. Pull tight to close the opening and hide the yarn tail inside the body of the project. Secure with a small knot if necessary.
Care & Washing Instructions
- Hand wash gently in lukewarm water with mild soap.
- Roll the item in a clean towel to remove excess moisture and air dry completely on a flat surface.
- Avoid machine washing or tumble drying, as high heat may melt the safety eyes or distort the synthetic stuffing.
Pro Tips & Common Mistakes to Avoid
- Always use a stitch marker at the start of every round. Because this project is worked in a continuous spiral, it is very easy to lose your place without one.
- Maintain consistent tension throughout the rounds. If your stitches are too loose, the stuffing will poke through; if they are too tight, you may struggle to insert the hook.
- Weave in your yarn tails by running the needle through the inside of the work in multiple directions. This prevents the ends from popping out after repeated handling.
- You can adjust the size by changing your yarn weight. Using a bulky yarn with a 5.0mm hook will roughly double the size of the project, though you will need significantly more yarn.
Frequently Asked Questions
Can I use a different hook size for this pattern?
You can adjust the hook size to match your yarn weight. If you use a hook that is too large, the stuffing will show through the gaps. Always choose the smallest hook that allows you to work the yarn comfortably.
Is this project suitable for a total beginner?
Yes, this is a great starter project. It focuses on the most common amigurumi stitches, which are the magic ring and the single crochet. Take your time with the magic ring, as it can be tricky the first few times.
How do I know if I have stuffed it enough?
The piece should feel firm but not stretched to the point where the stitches pull apart. If you squeeze the item, it should return to its original shape immediately.
Am I allowed to sell items made from this pattern?
You are welcome to sell finished items created from this pattern. I only ask that you credit the designer by linking back to this page in your shop listings.
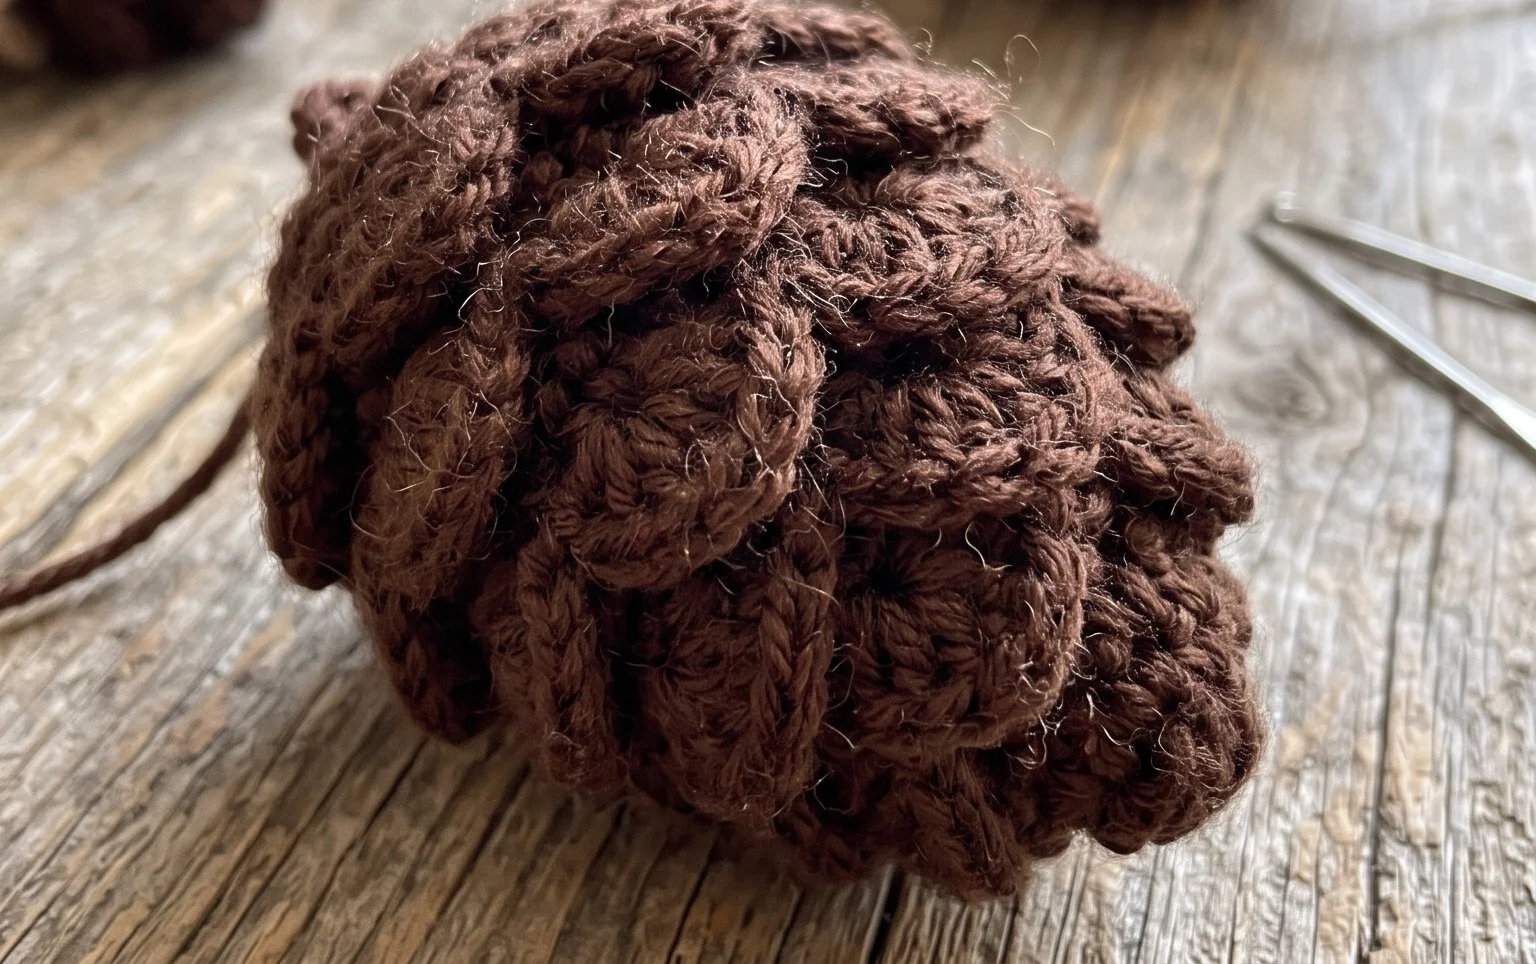
Your finished ornament serves as a charming addition to any festive display or a thoughtful handmade gift for friends and family. You can experiment with different yarn weights like velvet or metallic thread to change the overall texture and shimmer of the piece. Please share a photo of your creation on Instagram or Pinterest to show others how yours turned out. You might also want to visit the rest of the blog to discover more simple holiday projects that use up your remaining cotton scraps.