Free Crochet Patterns That Look Knit: Easy Step-by-Step
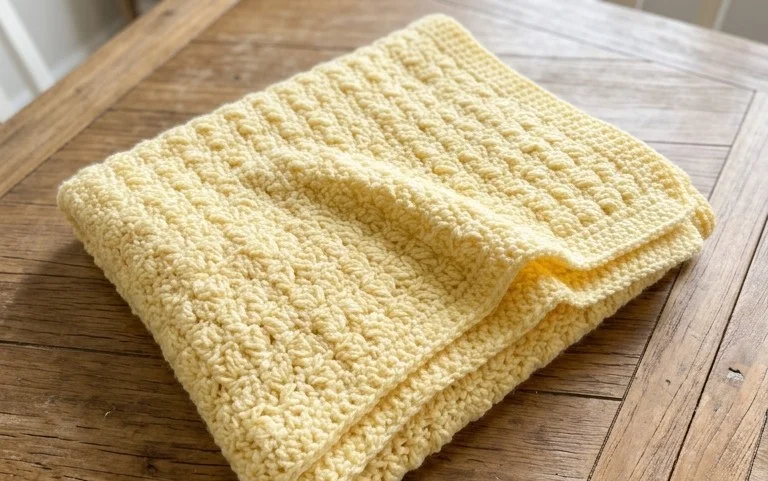
These crochet squares possess the dense, squishy texture of traditional hand-knitted fabric, mimicking the clean lines of stockinette without needing needles. Beginners often gravitate toward these designs because they produce such a tidy, professional result using only basic hook movements. Each finished piece feels substantial and warm, making them suitable for heavy blankets or structured home decor items that hold their shape well over time. You will learn how to manipulate your hook to create subtle ribbing and smooth surfaces that fool the eye. Working through these stitches helps you master consistent tension, which remains the single most important skill for any maker.
Why You’ll Love This Pattern
The Classic Crochet Granny Square is the foundation of countless textile projects, from cozy blankets to lightweight summer bags. Because it is worked in the round, you quickly see progress as the square grows outward from the center. This pattern is ideal for using up leftover yarn from larger projects, as each round can be worked in a different color. The repetitive nature of the double crochet cluster makes this an excellent meditative project for busy evenings. You will find that after two or three rounds, the rhythm of the stitch pattern becomes intuitive, allowing you to work without constant reference to the instructions.
I struggled with tension until I started practicing on these granny squares. They are the perfect way to learn how to keep your stitches even before committing to a larger garment.
— Sarah, beginner crocheter
Pattern Overview & Skill Level
- Skill Level: Beginner
- Approximate Time: 30 to 45 minutes per square
- Construction: Worked in joined rounds, starting from the center and expanding outward
- Finished Dimensions: 5 inches by 5 inches using worsted weight yarn
Materials & Supplies Needed
- Yarn: Worsted weight (#4), 100% cotton or acrylic blend, approximately 15 yards per square
- Hook Size: 5.0 mm (US H-8)
- Notions: Tapestry needle for weaving in ends, sharp scissors
- Yarn Substitutions: You can use DK weight yarn for a smaller, more delicate square or bulky weight yarn for a larger square. Note that changing the weight will require a hook size adjustment to maintain appropriate tension and prevent the fabric from becoming too stiff or too holey.
Stitch Guide & Abbreviations (US Terms)
- ch = chain
- st/sts = stitch/stitches
- sl st = slip stitch
- dc = double crochet
- Cluster = a group of 3 dc stitches worked into the same space
- Magic Ring = a method of starting in the round by crocheting over a loop of yarn
Step-by-Step Pattern Instructions
Center and First Rounds
- Rnd 1: Start with a Magic Ring. Ch 3 (counts as first dc here and throughout), 2 dc into the ring, ch 2, *3 dc into the ring, ch 2; repeat from * twice more. Join with a sl st to the top of the initial ch 3. (12 dc, 4 ch-2 spaces)
- Rnd 2: Sl st into the next dc and into the corner ch-2 space. Ch 3, 2 dc in same space, ch 2, 3 dc in same space. *Ch 1, skip 3 sts, (3 dc, ch 2, 3 dc) in next ch-2 space; repeat from * twice more. Ch 1, join with sl st to top of initial ch 3. (24 dc, 4 corner spaces)
- Rnd 3: Sl st into next 2 dc and into corner ch-2 space. Ch 3, 2 dc in same space, ch 2, 3 dc in same space. *Ch 1, 3 dc in next ch-1 space, ch 1, (3 dc, ch 2, 3 dc) in next corner space; repeat from * twice more. Ch 1, 3 dc in final ch-1 space, ch 1, join with sl st to top of initial ch 3. (36 dc, 8 ch-spaces)
Finishing the Square
To finish the square, fasten off your yarn, leaving a 6-inch tail. Use a tapestry needle to weave the yarn tail through the back loops of the finished round to secure it. Repeat this for all color changes if you are using multiple yarns. Block your square by lightly misting it with water and pinning it flat to a foam board until completely dry, which helps the corners set at ninety-degree angles.
Care & Washing Instructions
- Machine wash on a gentle cycle in cool water (30°C) inside a mesh laundry bag to prevent tangling.
- Lay the item flat on a towel in the shade to air dry, reshaping it with your hands while damp.
- Avoid using high-heat tumble drying or ironing, as this can permanently stretch or melt synthetic fibers.
Pro Tips & Common Mistakes to Avoid
Maintain consistent tension by ensuring your yarn travels smoothly from the skein; avoid tugging tightly on the yarn as you finish each double crochet. Use a locking stitch marker at the start of each round to keep track of your first stitch, which prevents losing your place during the ch-3 transitions. Weave your ends in by passing the needle under the stitches of the same color to ensure they remain invisible from the front. If you decide to increase the size of the square beyond five inches, add one extra round of (3 dc in ch-1 space, ch 1) for every additional inch required, noting that you will need approximately 5 additional yards of yarn per round.
Frequently Asked Questions
Can I use a different yarn weight for this pattern?
Yes, you can use any yarn weight. Keep in mind that a smaller yarn weight will result in a smaller square, while a thicker yarn will create a larger, chunkier piece. Always match your hook size to the yarn weight to keep the stitches from being too loose.
Is it difficult to join these squares together?
Joining squares is straightforward. You can use a whip stitch or a single crochet join to connect the edges of completed squares. These methods provide a clean, durable seam for blankets or bags.
What should I do if my square is curling at the edges?
Curling often occurs when the tension is too tight or when there are too few stitches in the corners. Ensure you are working (3 dc, ch 2, 3 dc) in each corner. Blocking the finished piece usually corrects minor curling.
Can I sell the items I make from this pattern?
You are welcome to sell finished items created with this pattern. Please credit the pattern designer in your product listings to help others find the source instructions.
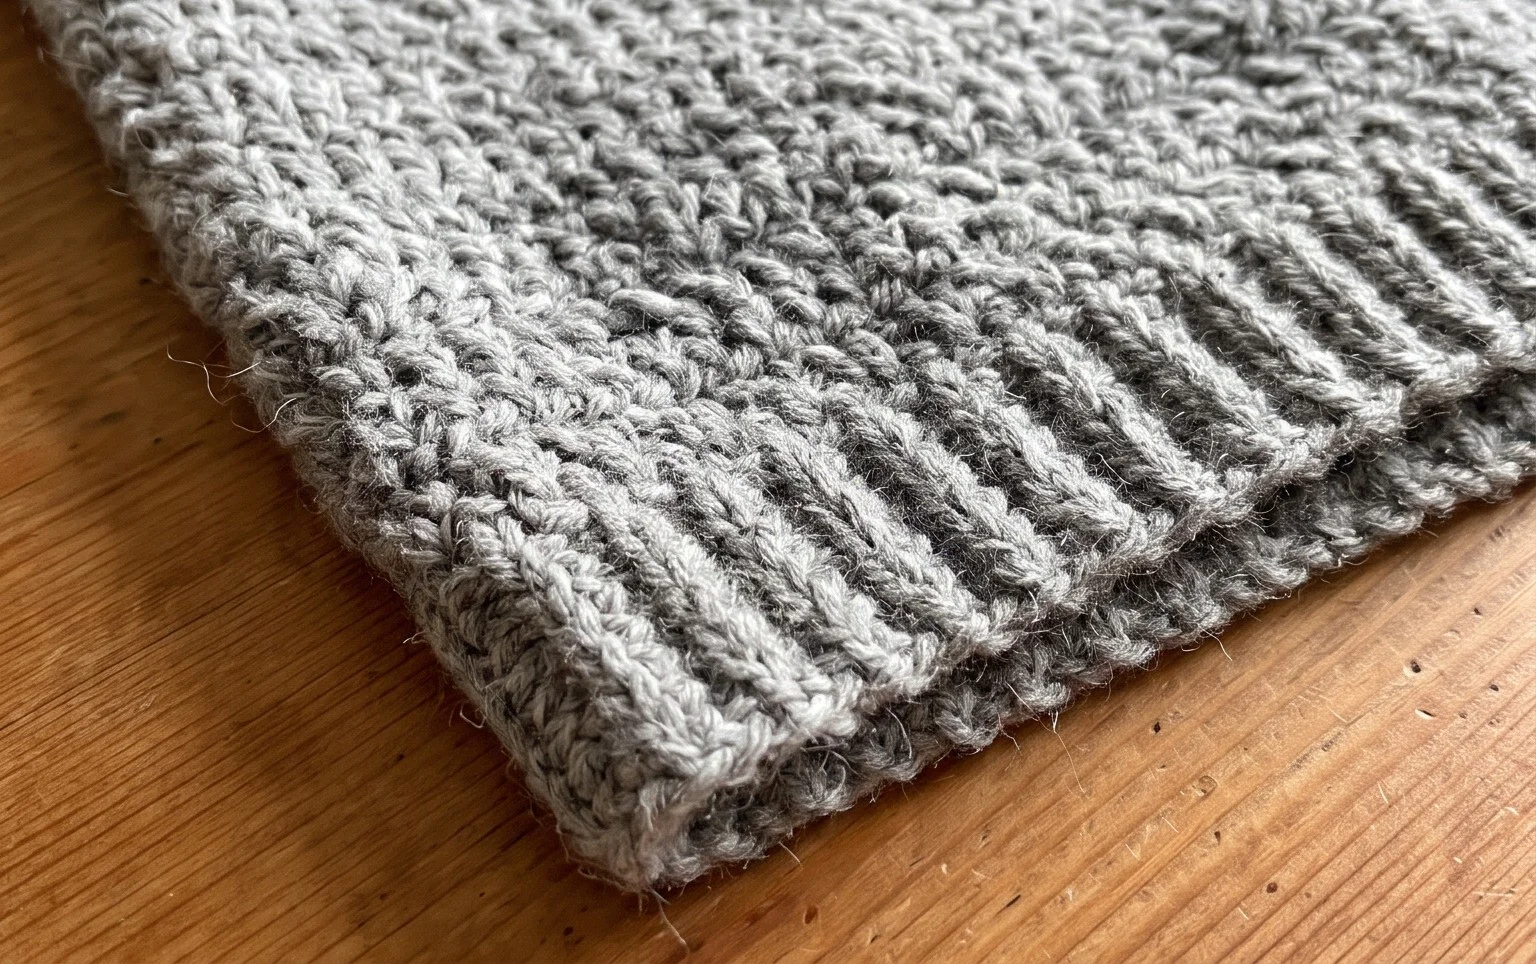
Your finished project now has a sturdy, woven texture that adds warmth and character to your living space. Try holding two strands of yarn together for a chunkier, oversized version of these squares that works up in half the time. Sharing a photo of your progress helps other makers find inspiration for their own yarn stash. Visit the rest of the blog to browse our library of additional free patterns and find your next project to build your growing collection of handmade textiles.